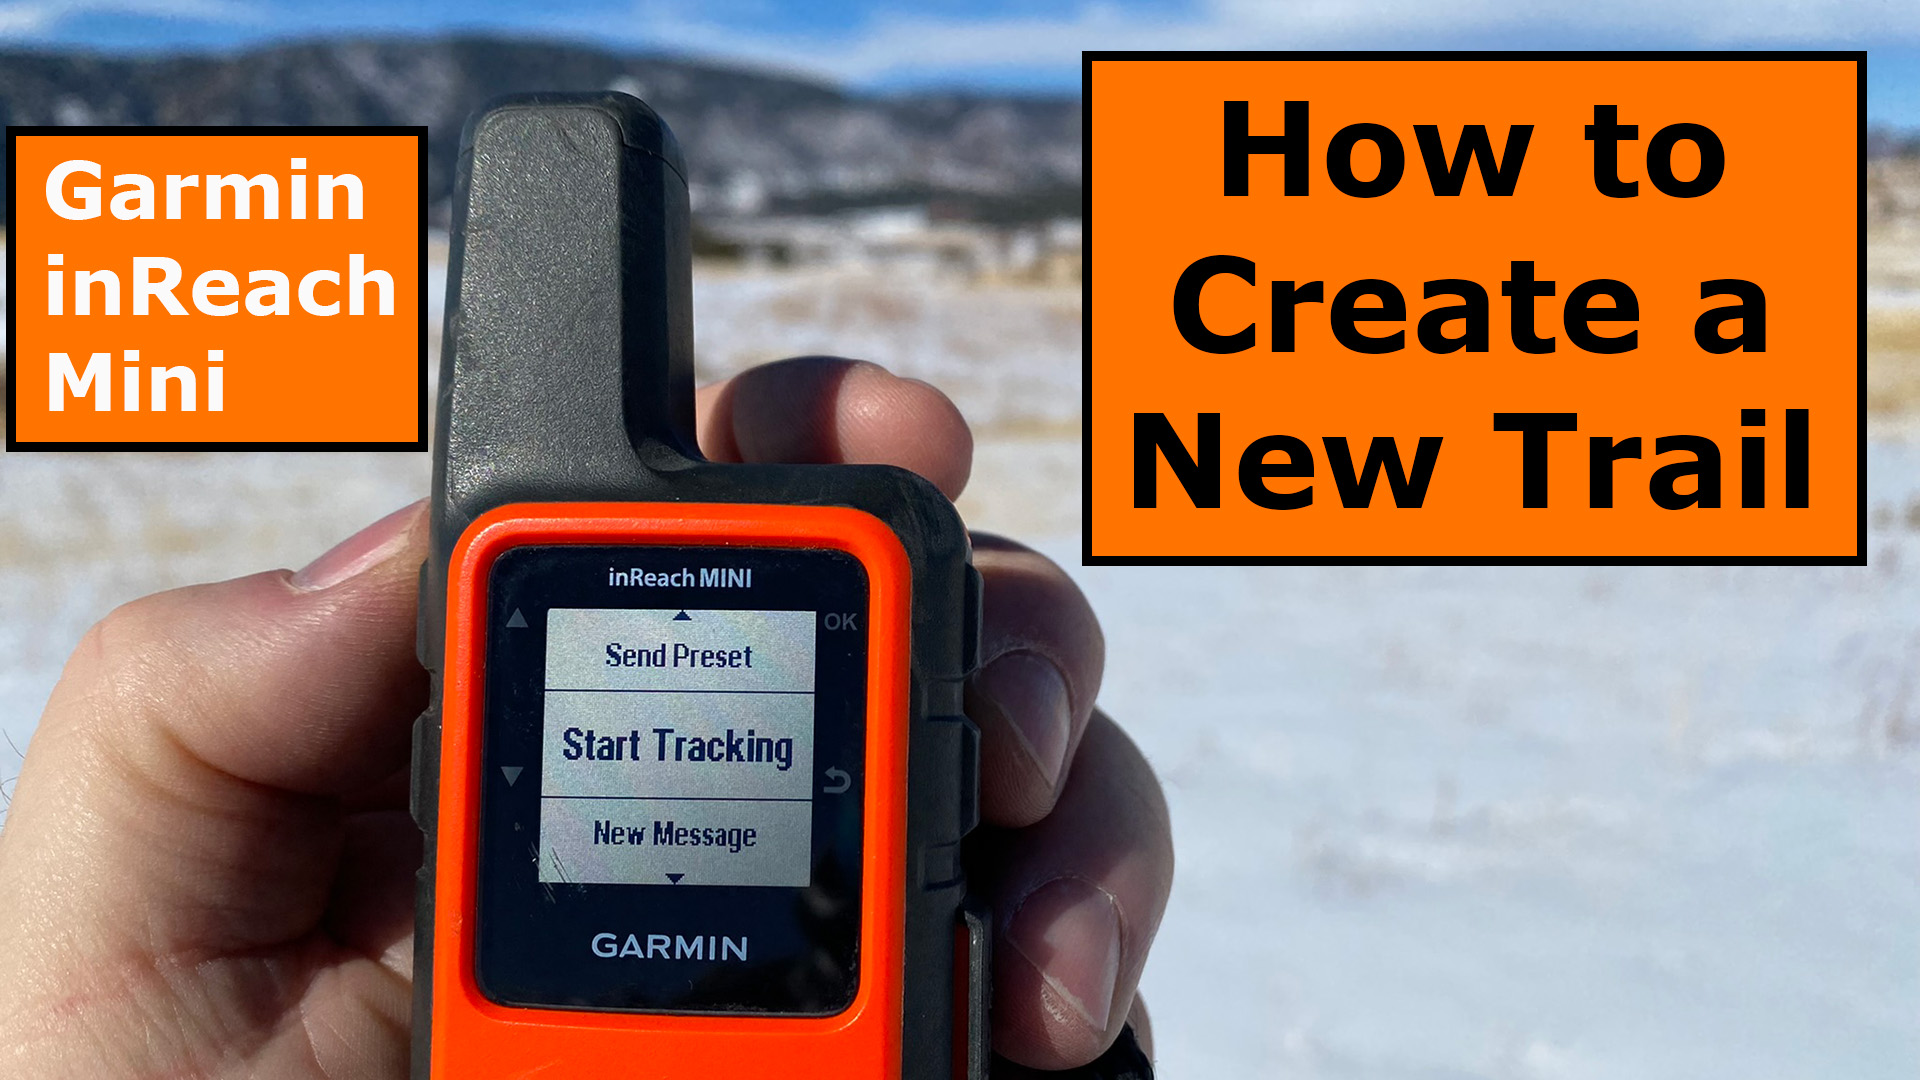
Check out the Garmin inReach Mini | How to Create a New Trail. How do you create a new trail with your Garmin inReach Mini? It’s actually really easy. Stay with me to the end to see how it’s done and to see a short YouTube video at the end.

inReach Mini Settings
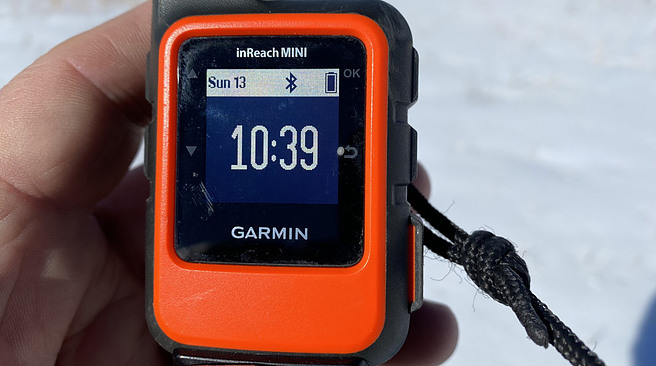
Here’s how to get into the settings before you start tracking your new trail. Go to settings from the home screen.
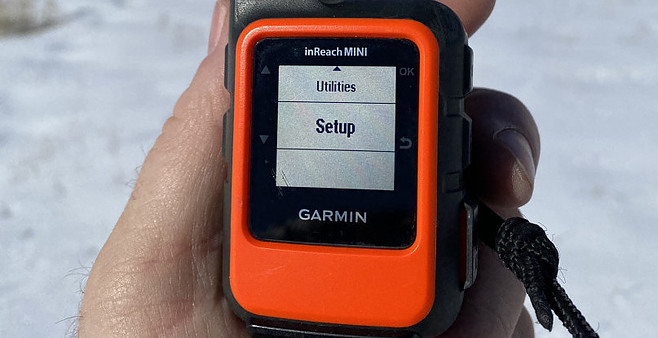
Now select (Setup), then (Tracking), and next ()Send Interval).

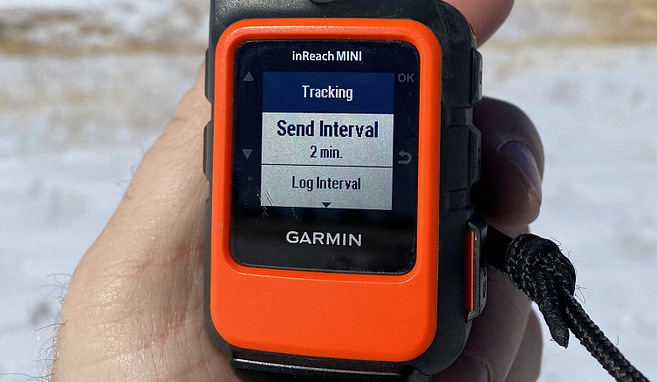
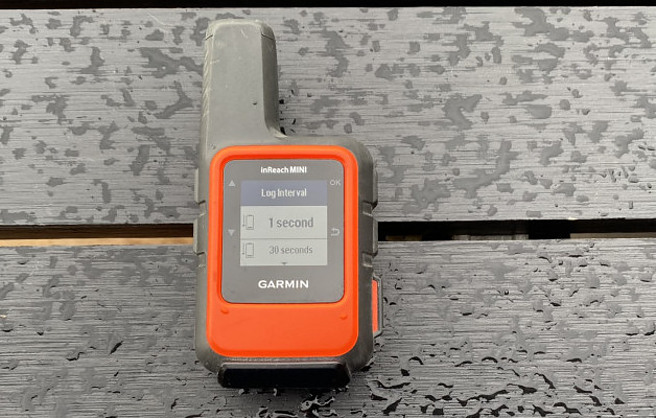
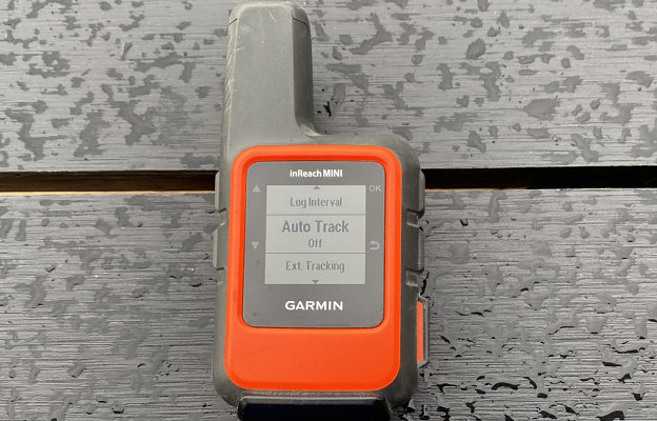
Next, go down to (Log Interval), and make sure (Auto Track) is off as I have found it causes me more problems than I would like.

Create the Trail
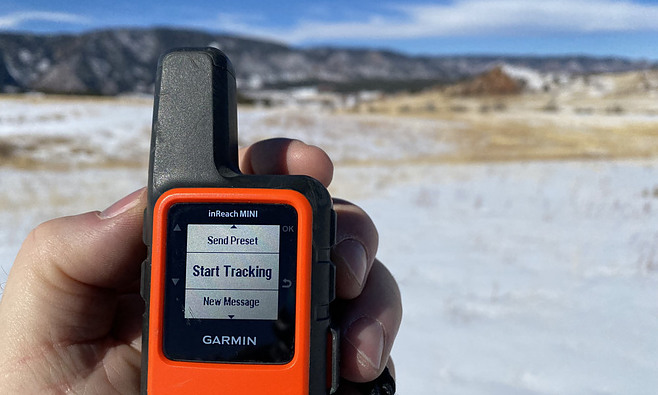
After you have the settings where you want them, then all you need to do is (Start Tracking) and go for a hike.
After the Hike
Now, head back home or to your office and Log into the Garmin Explore Map page. This is where you will see the tracks you have laid down. I believe the tracks are found under (Activities).
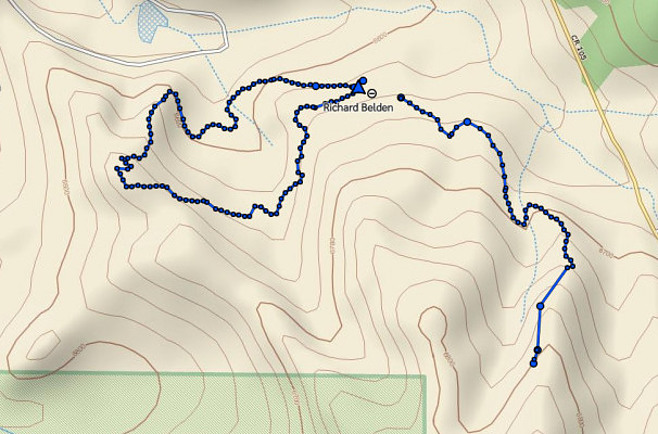
You can see from this image how accurate the tracks are. The out and back track on the right side of the image was the TracBack test I conducted before this test.
The loop trail on the left of the image was what I created on this new trail test. Below is an image with the satellite image turned on.
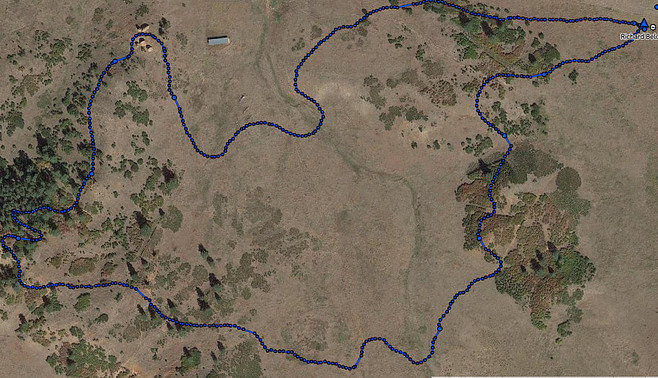
Interestingly enough, it looks like more points are shown in this image then the previous image.
Final Thoughts
As you can see, the Garmin inReach Mini is capable of extreme accuracy, but you can change that for your liking and to save battery life.
Creating a new trail when one is not available online is really easy. I hope this has helped you understand how to do it, but please let me know if you have any additional questions.
Check out the YouTube video below to see the test in action.
No products found.
Return to Home Page