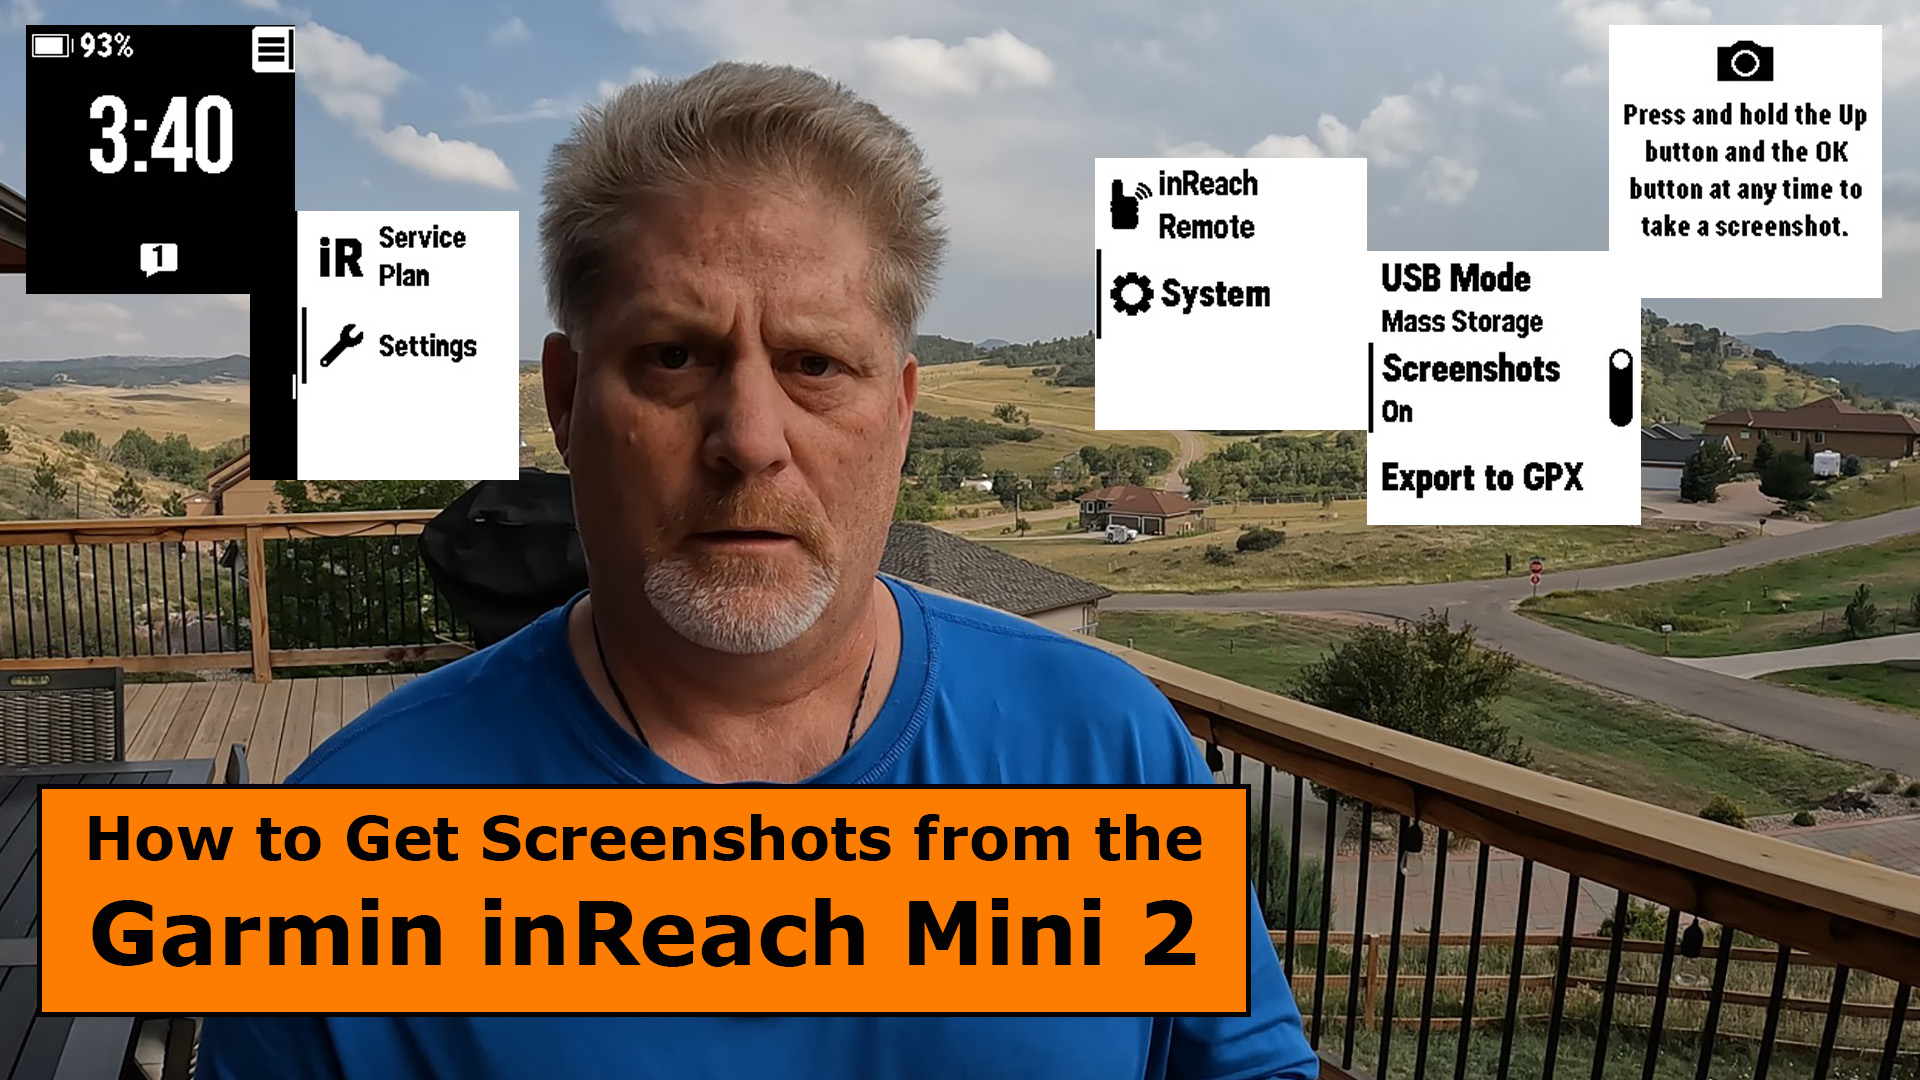
Have you ever wondered how to take screenshots with the Garmin inReach Mini 2 or the Garmin GPSMAP 66i and then get them on to your computer?

Well, it’s really easy and I’m here to show you.
Taking screenshots is different on both of these satellite messenger so I’ve separated the instructions below.
Garmin inReach Mini 2 Screenshots
First, you must turn on screenshots on the Mini 2. Once turned off, this setting will stay on until you turn it off.
You can follow the steps in these screen shots below, plus you can see it all on the Short YouTube video below.

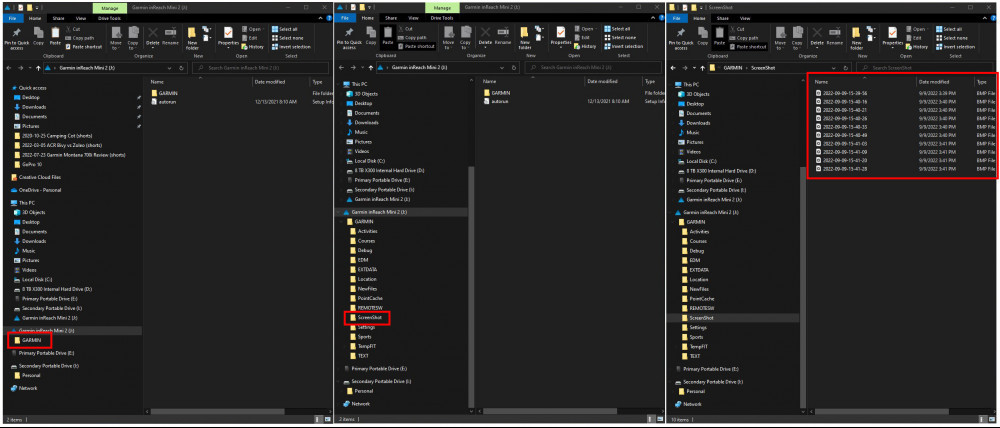
Next, you’ll want to copy the screen shots from the device to your computer. Plug the cable into the Mini 2 and then to the computer and you’ll see a folder automatically pop up on your computer screen.
Next, lets see the difference in capturing a screenshot with the GPSMAP 66i.
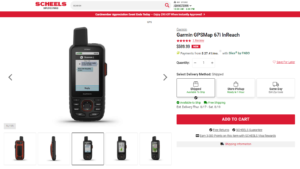
Garmin GPSMAP 66i Screenshots
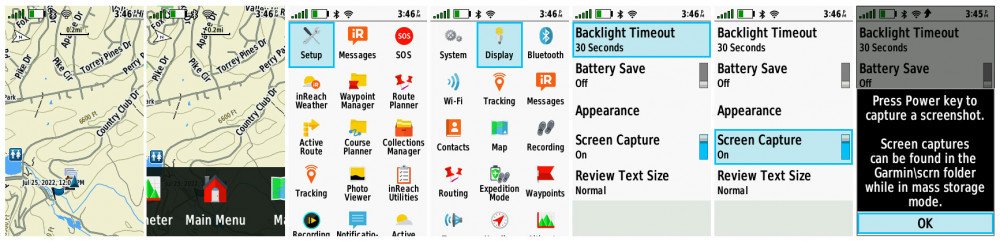
First, you must turn on screenshots on the GPSMAP 66i. One thing to consider on the 66i is that it will turn back to “Off” after you power the device off, unlike the Mini 2 which will keep the setting until you change it.
Follow the steps in the screenshots below or watch the Short YouTube video below.
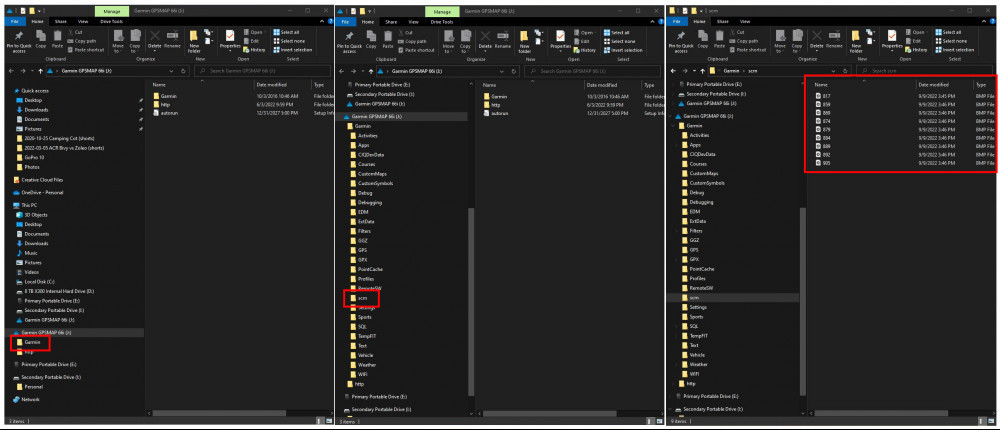
Next, you’ll need to copy the files from the device to your computer. Plug the cord into the satellite messenger and also to your computer. A folder will pop up and you’ll be able to copy the files easily.
Final Thoughts
The process of capturing screenshots on the Garmin inReach Mini 2 and the GPSMAP 66i is easy to do, but sometimes it’s a challenge to figure out, so I hope this has been helpful for you.
Check out the Short YouTube videos below to seen how easy it really is.
No products found.
No products found.
Return to Home Page